Configurator Basics
The configurator is the control panel for the selected step.
Most action pages reuse the same configuration pattern.
Learn these shared sections once.
Then focus on the action-specific fields in the middle.
Select a step in the workspace to load its configuration.
If no step is selected, the configurator shows process-level settings instead.
See Builder Navigation and Workspace Basics for the surrounding UI.
Common pattern across actions
Most action configurations follow the same flow:
- Check the current step status.
- Fill in the action-specific fields.
- Map incoming context and outgoing values.
- Review timing and advanced settings.
- Confirm connections and data updates.
Not every action shows every section.
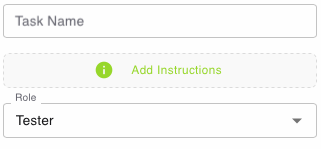
Human task actions usually include Task Name, Add Instructions, Role, and sometimes Select Output.
Other actions replace those fields with conditions, mappings, loop sources, or controller-specific settings.
Shared sections on many action pages
Status
![]()

The current status of the step is shown directly under the Step Type. Specific problems can be seen by expanding the box.
Context
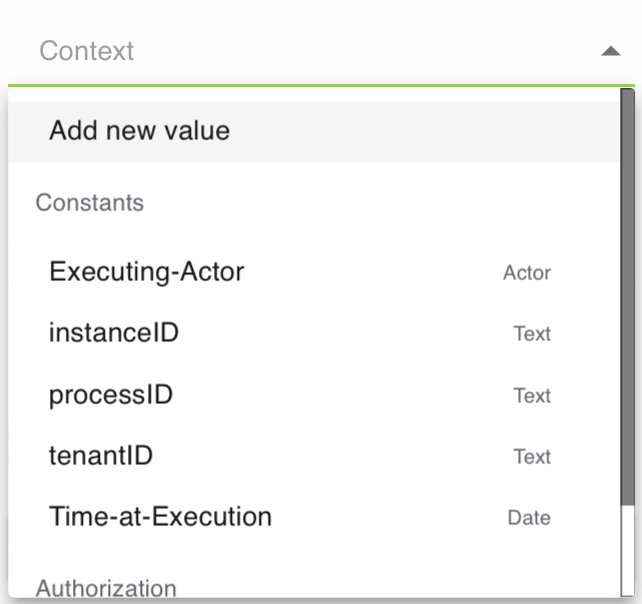
Use Context to pass values into the task.
This can include system values like Executing-Actor and instanceID, or your own symbols.
Details and Delay
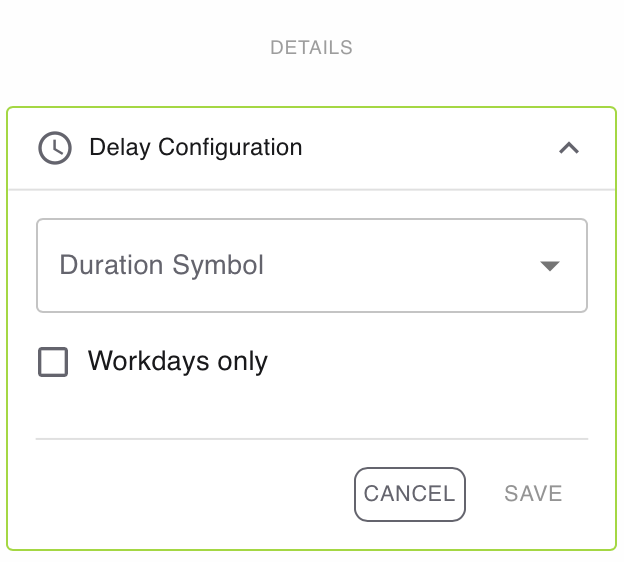
Open DETAILS for advanced settings.
Use Add Delay if the task should become active later.
Enable Workdays only if the delay should ignore weekends and non-working days.
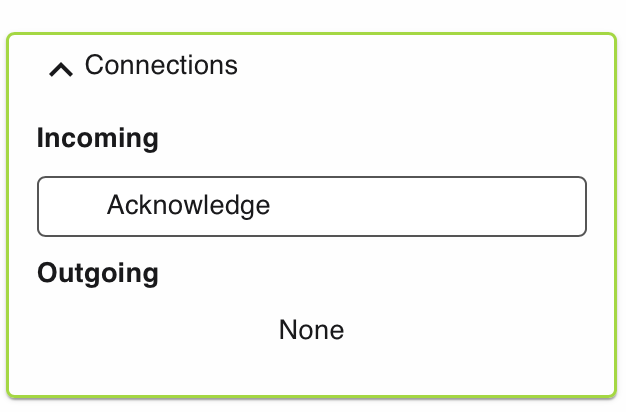
Connections
Use Connections to review incoming and outgoing links for this step.
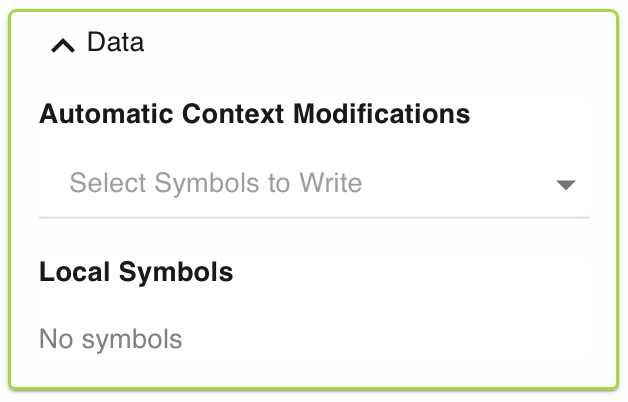
Data
Use Data to manage automatic context modifications and local symbols.
Automatic context modifications update process values when the task is completed.
Local symbols store step-specific values that are only relevant inside this action.
Common task-based sections
These sections appear often on human-in-the-loop actions.
Examples include Acknowledge, Submit Information, Review, and Threshold Voting.
Task Name and Add Instructions
Use Task Name to give the step a clear label.
Use Add Instructions to tell the assigned user what to submit.
Keep both fields specific. Good labels make the task easier to find and complete.
Use Role to define who is responsible for the task.
Roles are configured at process level in the Roles tab.
Select Output
Choose the symbols in Select Output that the user must provide.
These fields define the result of the task.
Use this for form values, uploaded content, or any structured input needed later in the process.
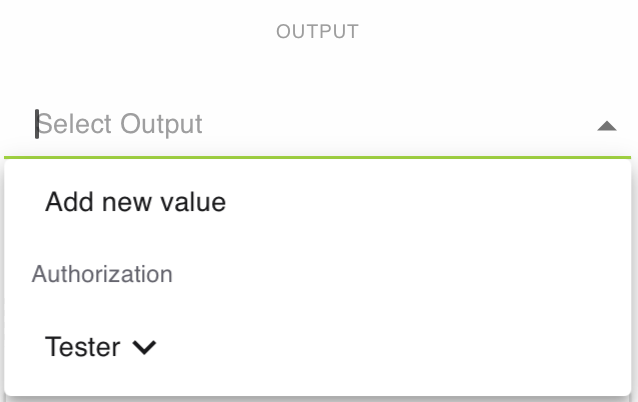
Only selected output symbols are returned by this step.
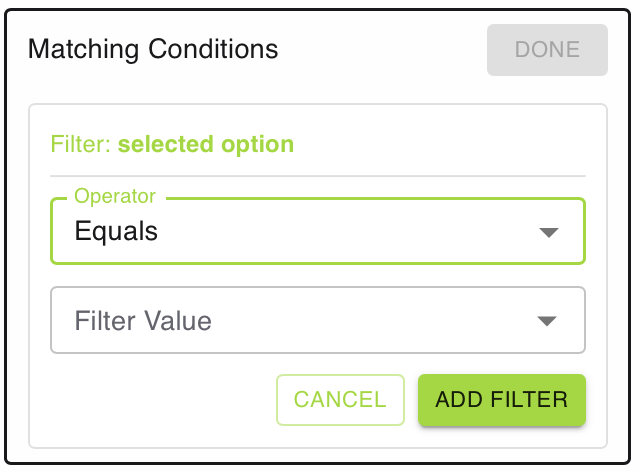
Matching Conditions
This section appears on branching actions such as Conditional Branching.
Use it to define the rules that decide which path the process follows.
Set Matching Conditions to the filter logic for the step.
Click the edit icon to open the filter builder.
Each rule defines:
- the attribute to evaluate
- the operator to apply
- the value to compare against
You can combine rules into nested logic groups.
If no rule is set, the condition is always satisfied.
Always connect a negative path when the process must handle unmet conditions gracefully.
What changes between actions
The middle of the configurator holds the fields that make one action different from another.
That is where you define the actual behavior of the step.
Typical examples:
- Human tasks add instructions, assignees, form outputs, or voting settings.
- Branching actions add conditions and branch rules.
- Data actions add targets, mappings, and value changes.
- Process actions add subprocess references and transfer data.
The shared sections around those fields usually stay the same.
Rule of thumb
If you are learning a new action, first identify which parts are shared.
Then spend your time on the action-specific section.
That is usually where the real behavior is defined.